FOAMINATOR
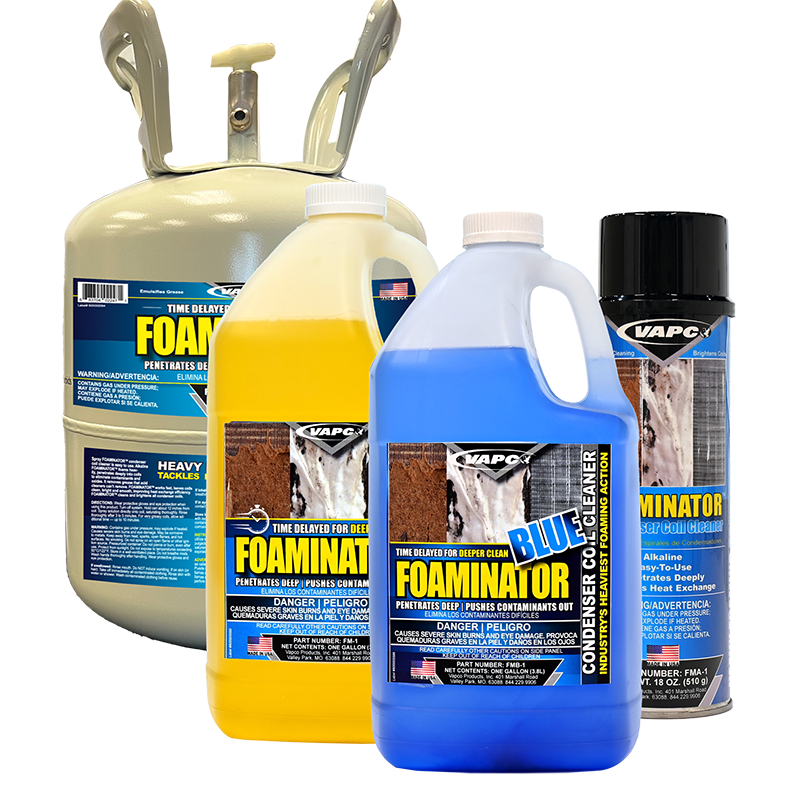
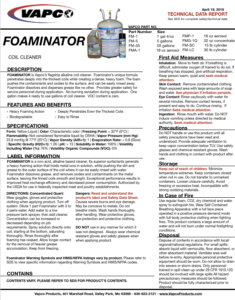
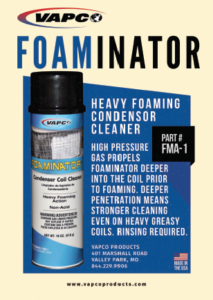
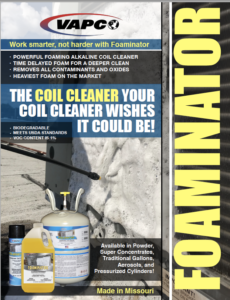
FOAMINATOR is a non-acid, alkaline cleaner that generates the heaviest foaming action in the industry. It effectively cleans coils from the inside out, making it easy to rinse away contaminants. It’s packaged in various forms including powder, aerosol, liquid, concentrate, pressurized cylinder, and bulk containers. The formula will not atomize when spraying, keeping users safe in windy conditions. The time delay formula also allows the product to penetrate deep into coils and clean all the way through. It meets USDA Standards and authorized by the USDA for use in federally inspected meat and poultry establishments.
FOAMINATOR CYLINDER – This unique premium alkaline-based coil cleaner penetrates deep into the thickest coils while also creating dense, heavy foam that pushes the contaminants and oxides to the surface, so they can be easily rinsed away.
Features and Benefits of Foaminator
- Heaviest foaming action in the industry
- Cleans the coils from inside out, which makes rinsing away the contaminants easier
- Packaged as a powder, aerosol, liquid, concentrate, pressurized cylinder, and bulk containers
- Will not atomize when spraying and keeps users safe in windy conditions
- The time delay formula also allows the product to penetrate deep into coils and clean all the way through coils
- Meets USDA Standards
Part Number; Size
- FM-1 1 gal 4/cs
- FM-5 5 gallons
- FM-55 55 gallons
- FMA-1 18 oz aerosol 12/cs
- FMP-1 8oz powder 8/cs
- FMG-1Q 32 oz concentrate 8/cs
- FM-SC 15 lb cylinder
- FM-LC 30 lb cylinder
Directions:
- To begin with turn off the system first.
- Dilute 1 part Foaminator with 3 to 4 parts water.
- Next, add water to a low-pressure tank sprayer.
- Add the cleaner next (Concentration can be increased or decreased depending on job requirements).
- Then, spray the solution directly onto the coil.
- Lastly rinse thoroughly after foaming has ceased. Allow longer contact with heavier grease. Keep from freezing.
DANGERS & PRECAUTIONS
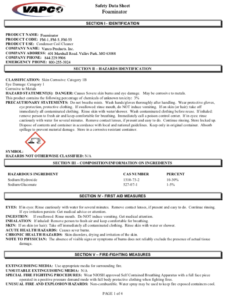
Read and understand the product’s label and Safety Data Sheet. Do not breathe mists. Be sure to wash hands thoroughly after handling.
Spray Tip Assembly Directions
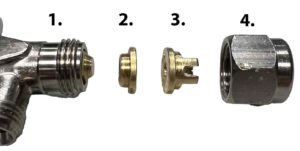
When replacing your spray tip (or troubleshooting a leaking/clogged gun or one that will not stop spraying) … ensure that the spray tip is assembled in the order shown below.
Instructions:
- Place spray tip (No.3) into nut (No. 4). Ensure tip protrudes from nut.
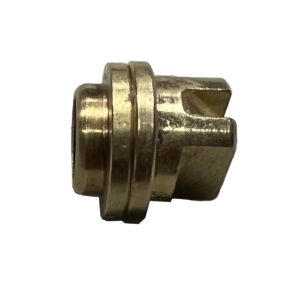
- Place seat (No. 2) into nut (No. 4) with flat side facing (and sitting atop) spray tip.
- Screw assembled spray tip onto spray gun (No. 1).
- Tighten with wrench.
Important: Seat (No. 2) needs to be placed with flat side facing spray tip (protrusion facing spray gun). If the seat is positioned incorrectly, the spray gun may not work properly (leaking, clogging, constant spraying and other problems may arise).
