MEAN GREEN
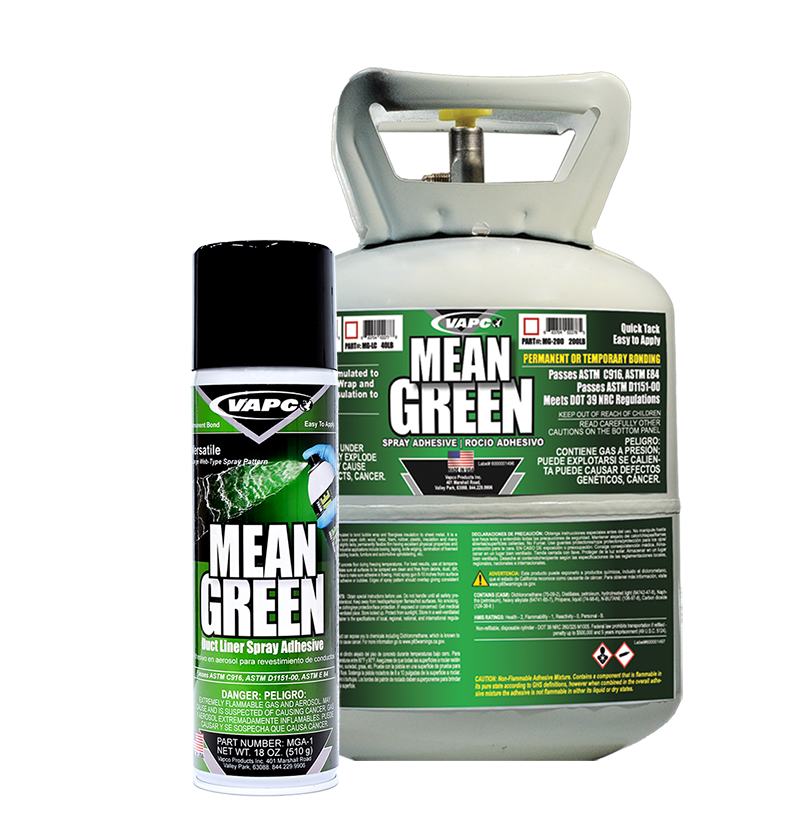
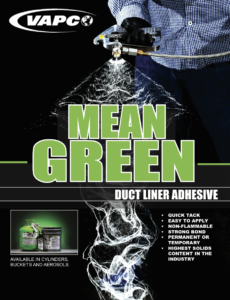
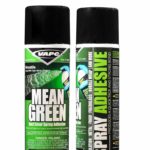
MEAN GREEN is cost-effective, versatile, and easy to use. With high solids, this pressure-sensitive adhesive is specially formulated for nearly instant tack and strong bonds that as a result resist heat, cold, and moisture. MEAN GREEN CYLINDERS also produce controlled, lace, or web-type spray patterns. It has a controlled spray pattern that provides a low soak-in rate so more adhesive remains on the surface where it is needed to adhere to similar or dissimilar materials. MEAN GREEN BULK can be used with an existing spraying system, and it can also be brushed or rolled on. It is an extremely versatile adhesive and can be used on a multitude of materials but was designed specifically to be used in duct lining applications.
CUSTOMERS IN CALIFORNIA, UTAH AND CONNECTICUT ORDER VAPCO’S MAGNA TACK (MTA-1) TO COMPLY WITH VOC REGULATIONS.
CYLINDER INFORMATION: Mean Green is the only non-flammable, solvent-based adhesive available in a cylinder that meets all DOT39 regulations and passes ASTM C916, ASTM D1151-00 and ASTM E 84 (Flame Spread Index =10, Smoke Developed Index =15). Levels for Class A/Type I Material as classified by NFPA 101 Safety Code; Flame Spread Index = 0 – 25, Smoke Developed Index = 0 – 450, Volatile Organic Content: < 1 g/L.
Features and Benefits
- Quick tack, strong bond
- Easy to apply
- Non-flammable
- Permanent or temporary bonding
- Highest solids content in the industry
Part Number; Size Coverage*
- MGA-1 18 oz 6/cs 150 sq ft
- MG-SC 12 lb 1ea 1,430 sq ft
- MG-LC 40 lb 1ea 4,730 sq ft
- MG-200 200 lb 1 ea 24,000 sq ft
*Approximate square footage, may vary depending on the user
Mean Green Bulk
Mean Green Bulk can be used with an existing spraying system, or it can be brushed or rolled on. The same fast tack and strong bond as our cylindered and aerosol versions.
Part Number: Size
- MG-1 1 gal 4/cs
- MG-5 5 gallons
- MG-55 55 gallons
Directions:
The surface must be clean and free from debris, dust, dirt, grease, etc. Wear goggles, gloves, and protective clothing in addition to following the directions when using this product.
- First, spray, brush, or roll inside of the sheet with a light coat of adhesive.
- Next, apply a thicker coat around the edges. This provides enough wet strength for a good bond.
- Finally, spray a light coat on both the insulation and the metal to use the adhesive as a contact cement.
DANGERS & PRECAUTIONS
Read and understand the product’s label and Safety Data Sheet. Keep out of reach of children. Causes skin and eye irritation. Suspected of causing cancer. Do NOT handle or use this product until all safety precautions have been read and understood. Keep away from heat, sparks, open flames, and hot surfaces. Eliminate all ignition sources if safe to do so. Protect from sunlight. Wear protective gloves.
